Sunday, December 8, 2013

At the Confluence

(no longer in inventory)

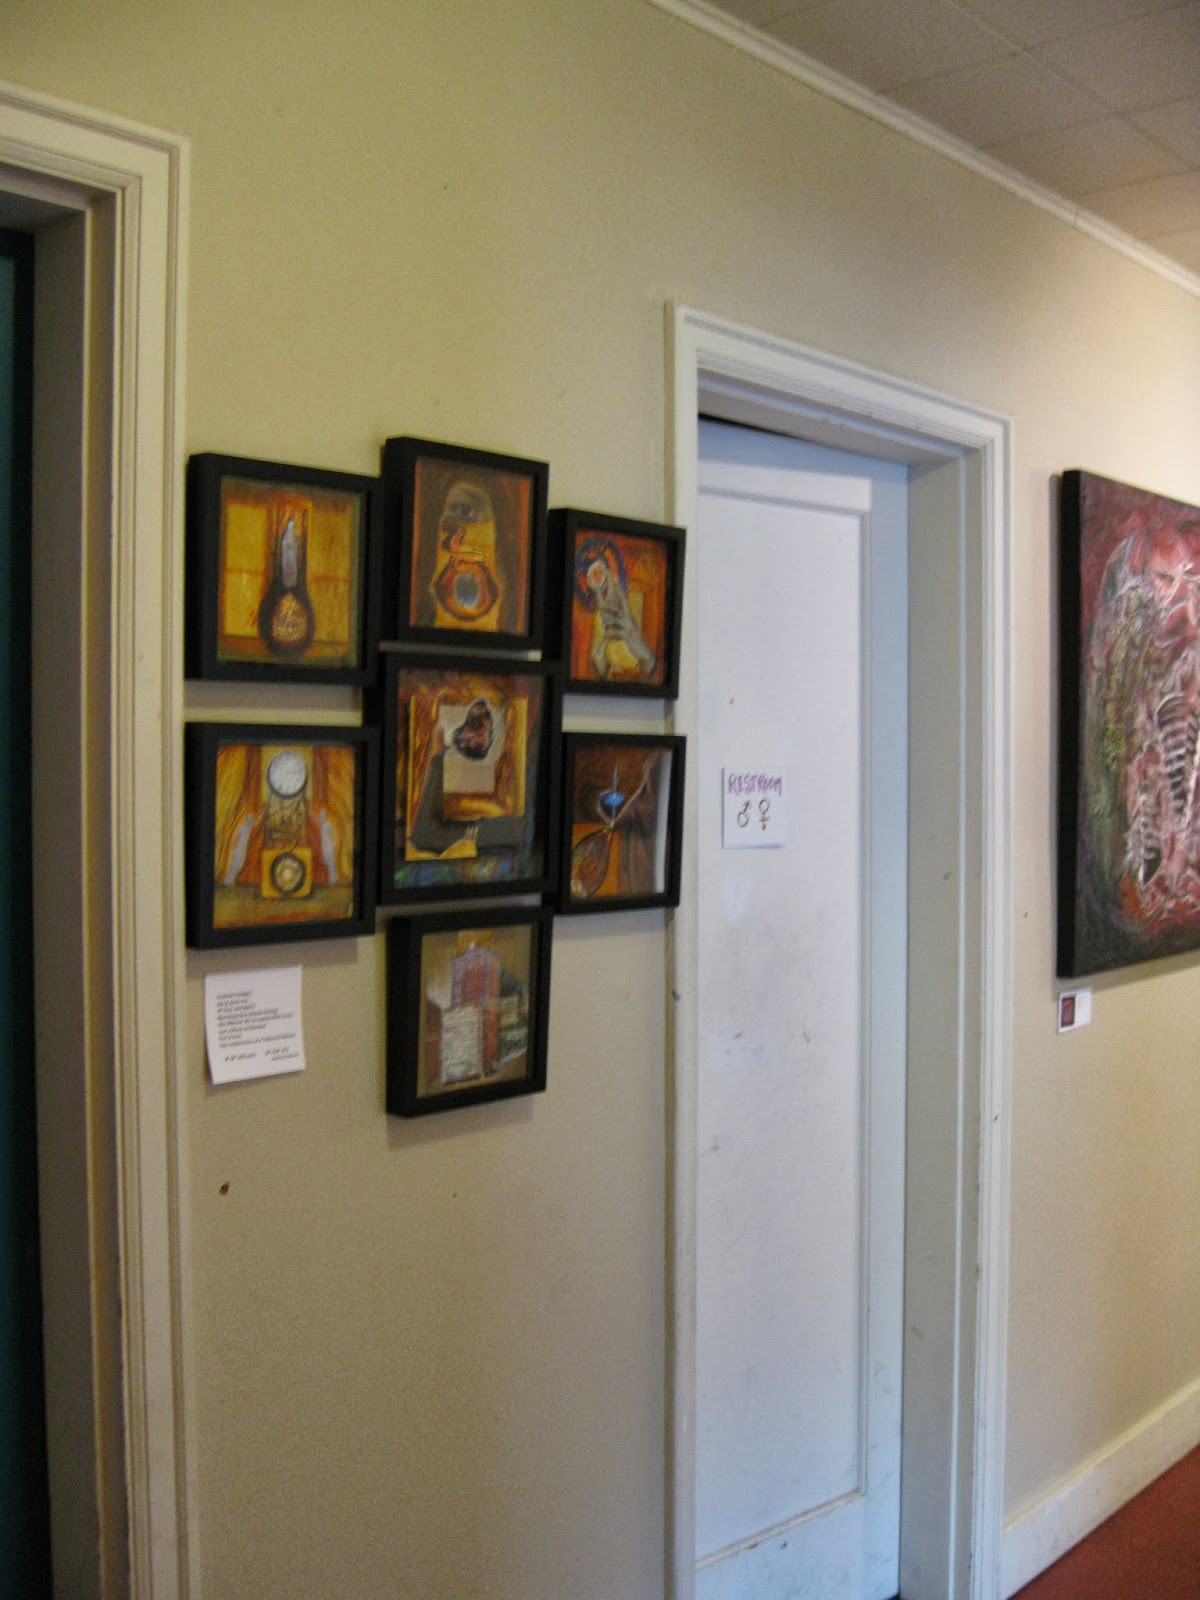
This painting is 18"x20" on canvas, and she was quite illusive. I struggled with this from the beginning. I was afraid I had lost it--whatever that is that brings the inside onto the canvas. The color was wrong, everything too controlled and tight--so I sprayed a lot of water into the red and black--had to lose control. Finally, I could exhale. I hadn't lost it.

But then, I had trouble with the light. I couldn't make a commitment. I decided it had to come from the back. Okay, but how did it move through the painting? From the bottom right? Blast out the top? Where? What marks? What did the light look like? What color? What's the dynamic it creates with the dark? I worked it and worked it, and it kept taking the wrong shape, not really communicating anything to me.

Then I had a moment to look at a magazine while at the dentist's office waiting to get a temporary crown made. From the stack, a National Geographic cover revealed itself. And there were the answers to the light questions I had. On the cover was a rendering of moons colliding. Light was blasting out of the spheres. I told my dentist, "The answers to many of my painting questions come from the universe."   I borrowed the magazine. It just may inspire another painting--I mean, moons colliding? That's compelling.

I do believe I've pushed this one as far as I can--for now, anyway.

At the Conjuring

(no longer in inventory)

This painting is 18"x20" on canvas. It was an experiment in using gesso heavily applied on stamping tools. After the heavy marks dried, my first layer of paint was blue; then I added the compliment of orange--to make a shade of brown that I rather liked. I moved the paint around letting some of it go thin in places so the canvas texture showed, then let that layer dry. I went back in with orange in the foreground on the left. And used Nickel/Azo Gold to bring up the heavy gesso marks. Lots of flowing and swirling--and the idea of a conjuring of sorts.

Whatcom Artists Studio Tour 2013 (part 3) Paintings move into the hallways at the Waterfront


Whatcom Artists Studio Tour 2013 (part 2)


Whatcom Artists Studio Tour October 2013 (part 1)


Sunday, September 8, 2013

Amulets to the Guardian of Rust (size 22 1/2"x43 1/2")

(no longer in inventory)

This was quite the challenge to finish. Well, technically, it's not finished; I haven't figured out how to hang the structure, yet. To create the architectural look of the styrofoam, I first put drywall tape on the structure to strengthen it. It takes a bit more for it to be jabbed and the surface compromised. Then I covered it in spackle. That took a lot of time because there was a significant learning curve. And I wanted to get lost in creating texture--a temptation I resisted by promising myself a chance to play with creating texture in the archway pieces. After the spackle dried, I added a coat of gesso. Then I added various shades of orange. Then I sought to compliment the rust colors by adding shades of blue-green. I darkened that down with my perfect grey. The rusty bits were adhered with gel medium. I have re-inforced the edges of the structure by laminating cotton sheeting to the sides. Right now, that's just painted white. The back is still exposed styrofoam. That needs to be remedied, though. Do I use Power Grab to adhere a piece of Masonite or something to the back. Will Power Grab melt the styrofoam? My preference would be to construct a metal frame. I wonder how I do that? I think I'd need to have tools beyond my capabilities for that. Anyone know a welder? And then, at the Art Walk this past Friday, someone asked me how much it costs. I don't know. Any ideas about framing or creating a hanging structure? (A friend suggested brackets--that could work.) Any ideas about what price I put on this?

Study of Archways


These pieces were inspired by the collage of charcoal marks on paper that I posted earlier--created last summer, in fact. Because of my fascination with archways, I wanted to create something more dimensional. These started as styrofoam sheets. I added spackle that had a lot of water in it--it had settled to the bottom of the container. This made the spackle particularly smooth when applied. I rather liked that effect and wonder if I can re-create it by adding water to regular spackle. I also made more marks for texture and mystery, to create a crumbling effect. I'm rather liking these and rather like the re-purposing of styrofoam. Sizes framed are 14"x11" for the single archway and 13"x16" for the triple arches.

Sunday, July 21, 2013

Susan and Helen Get Married July 27, 2013


I spent a day with my friend Ellen Bond in her and her husband's shop, working with different sized wooden blanks and wooden tap handles that they had oodles of. Such a fun day of drill whatevers and guidance from Ray. It became a sculpture of sorts--started out looking a bit like a bowling trophy--as, thank goodness, Ellen pointed out. But over time, it morphed. Can't have it looking like a bowling trophy. I acquired rusty bits from various sources--thank you sources--and the glass doorknob from Spencer, my neighbor. And I found the bird cage at the Good Will. Then Linda Sue gave me the doll busts. It was at a very unfinished stage when Susan said, "I have to have that for the wedding." They finally can be legal after all these years of being together. I think it was the girls in the cage that got her. The cage door was open, of course; they could escape if they wanted to. But they're happy to be stuck together--the girls in the cage, that is. And then Susan left me to my finishing devices. Lots of problem solving involved--glass doorknobs and rust not a good mix of surfaces for adhering for a lifetime together. And Christina talked me down from overdoing it with feathers. But when it was finished, Susan and Helen loved it. I just hope the sculpture stays together as long as Susan and Helen already have. There's a learning curve with these things--as with all things, it seems. Cheers to Susan and Helen and all of those lovers who finally can choose to be married.

Saturday, June 1, 2013

Waiting on Spontaneity Series


So after finishing "RustEcology Mythology," I started to work on these pieces, each 5 inches by 5 inches. These were pieces that I mostly experimented on over the years, trying to figure out texture, etc. I decided, since a friend gave me several timepieces, and since I have time issues, to do something about being spontaneous--that's what abstract is all about--and incorporating the idea of time into that. So these pieces are all about the conflict of time and spontaneity. There's some strange stuff under that texturing mixed medium stuff--wood pieces, brass hose, papers. The colors are bright--I was wanting to work with yellow and its compliment--and there are some places I really love in each of them. the watch faces are all set at -ish times: 12-ish, 12:15-ish, 12:30-ish. That explains my relationship to time, exactly...or -ishly.

Stage One "Amulets for the Guardian of Rust"


In a way earlier post, I expressed the significance and gift of rusty bits that came my way. Finally, a good portion of them are being put to good use. The base for this is a styrofoam packing piece that came with the sit/stand workstations that several of my co-workers are using. I saved three of these for use in my art. Of course, the architectual aspects of the "niches" appealed to me--they're about 42 inches by 20 or so inches. Then I got out my big and heavy bin of rusty bits and started placing them. At the same time, I was referencing the book "Amulets: Sacred Charms of Power and Protection" by Sheila Paine that fellow artist Shelley Muzzy gave me (thank you, Shelley). What would be appropriate amulets for the Guardian of Rust? I had great fun determining what pieces went where in the niches--what the shapes might represent. And it went together surprisingly fast.

Stage Two is in process. That's the drywall taping and the spackling (how do you spell that?). Should only take a few hours, right? Wrong. Many a back stretching, neck crunching hours. There is a learning curve after all.

Friday, April 12, 2013

RustEcology Mythology: The Rules and The Guardian of Rust


Artist's Statement for RustEcology Mythology: The Rules and Guardian of Rust

Once upon a time humans could have altered the course of their technology rush, their building boom, their destruction in the name of construction and progress. The clarion call of scientists and ecologists could have been heeded. It was not. In this scenario, the ice melted, waters rose. Rust rode the waves to rule the land. Crumbled detritus became the impetus for what has so often happened in human history: a mythology emerged to explain events and existence. In Post-Apocalyptic times this is known as RustEcology Mythology. Its basic tenets are represented here in this diptych.


It started when I got the message to create something about the environment. All of these rusty bits were findings, by several different friends, on beaches, mountain paths, old barns, holes that must be dug, and the rusty, no-longer-operable kick-stand in Amsterdam (anchoring the lower left of the diptych). So much rust in our environment. And it is beautiful even as it is trash. The ceramic bits are a broken replica of a pre-Columbian mask also donated by a friend, the same one who brought me the "guardian" and all the rusty, long nails I shoved under the "tablet." It seemed fitting that these are together in a composition--the then and the now. I chose to hold it all together compositionally with the texturing material I use--a mix of lightweight spackle and gel medium. Painted with acrylics in blues and greens and violets, with some micaceous iron oxide mixed in, and a fabulous paint called quinacridone nickel/azo gold which had the rust tones to it, on the top of the texture.

I had the idea that this diptych represents a new mythology, a "RustEcology Mythology," that perhaps arose in some future generation that was looking for a way to justify all the rust in our environment. Rust takes on a life of its own--the proof is in those amazingly fascinating photographs of the Titanic, for instance.

This diptych is on two wood panels that measure 24 inches by 36 inches with an inch and a half profile from the wall. Together, they weigh under 20 lbs (guessing).

Sunday, January 27, 2013

Transformation~In the Caesura

(no longer in inventory)

Butted together on the easel at the Waterfront Artists' Studios in Bellingham. Next Art Walk is March 1, 2013.

Transformation~In the Caesura: Initialis, Medialis, Terminalis


The dark surround is finally finished. I fought it, but in the end knew it had to be done. Thanks to those who kept nudging me in that direction. The paintings are stronger for it as am I. These paintings are mostly about the breaking apart of the old ideas, false ego, the things that distract us. The transformation happens in the pause--the Caesura. Thank you to Doug, who in his research discovered that there were three kinds of Caesura. The piece in the middle, thanks to Peggy's suggestion--and now that the backgrounds are completed, it actually fits there, is the Terminalis. This wholeness is what can come from allowing the process of splitting apart, and then the transformation to occur. Since in my personal, spiritual, growth, I'm still in the falling apart Caesuras, I don't completely understand the wholeness. Visualizing it is the first stage in the process for me. I wonder why I fight the completion so...

These paintings are each 18"x24" on wood panels with 1 1/2" cradle. I've used my mixed media texture and acrylics with metallic and interference paints.